For the impatient
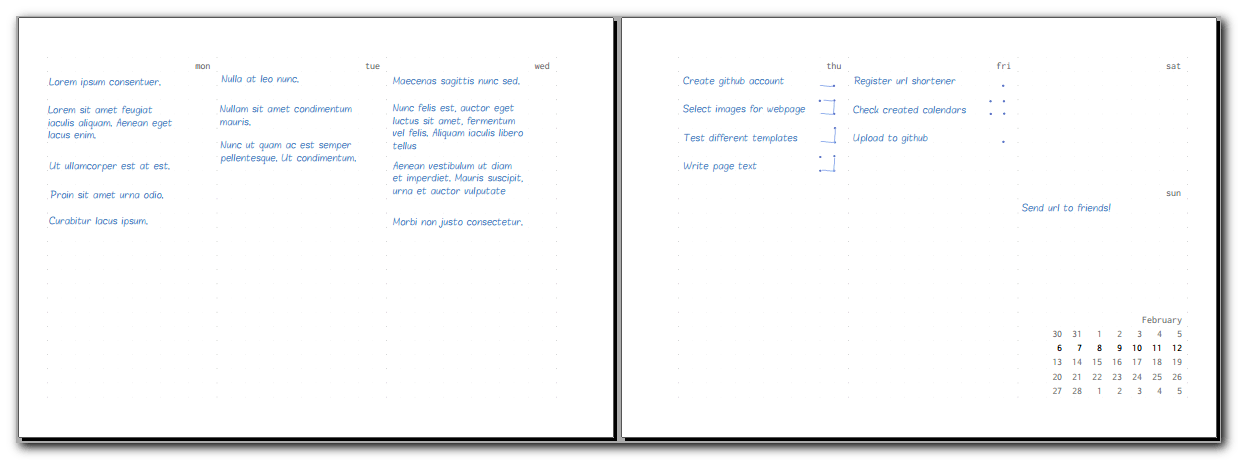
You can download the Week Calendar PDFs for every year between 2014 and 2025 here.
Why
I'm a systems engineer that works with lots of computers, servers and remote offices. Basically, I manage systems by writing code.
And I'm not very good with my to-do lists. So, a few years ago I started to read some articles and books about productivity, delivering on time, lean... and began to practice one of the simplest methods: the pomodoro technique.
But the pomodoro technique works mainly in the "To Do Today" mode, and I've always liked to work with the whole week picture. On the one hand, it gives me context: the work of today is usually related to previous days. On the other hand, you can see how this week is going: done tasks give you peace of mind, and unfinished ones propel you to work harder or to redefine your project schedule.
So, I started to look for a week calendar where I could use some 'pomodorish' technique: just to write down the work that needs to be done today, and track the tasks' progress. I thought that this could be a simple and interesting gift for some relatives this Christmas...
How
The design, was driven by simplicity:
No graphics, only chars and dots.
Half cm. non invasive grid, that can be used as a ruler: 18cm when printed in an A5.
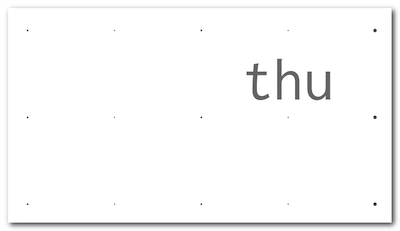
- Only one font. I chose Inconsolata, a free monospaced font that looks incredible not only in your monitor, but when printed. I edited the font, and modified the zero character, to remove the slash.
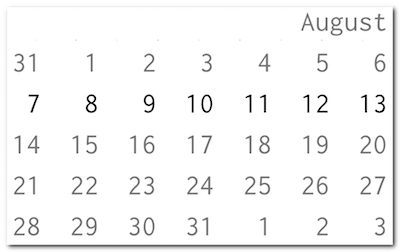
No colours, just black and 'only' three shades of grey.
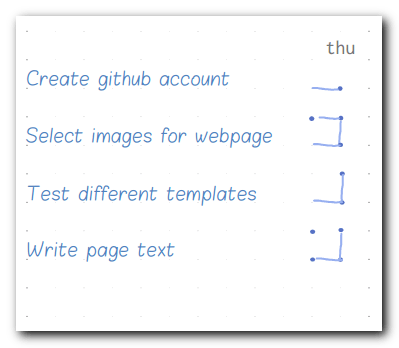
Easy to use with the pomodoro technique. I mark every pomodoro as a dot, and draw a line that ends on it when finished.
- Whole week view, but with a size as small as possible. Only two landscape A5 side to side.
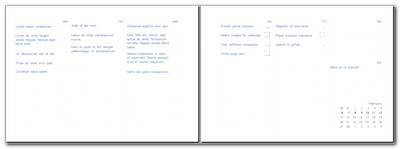
- Days on the right, so you can write one line up.
And being a programmer with almost no free time, I wrote a little script in Ruby, using the prawn gem that allows you to create PDF documents.
How to print the PDF
As I used a small font size, and different shades of grey to highlight the current week, you should not use a laser printer. Almost all laser printers simulate greys by dithering or halftoning, and small grey fonts look terrible.
It's better to use an inkjet printer, with any good quality paper. It doesn't need to be photographic paper. I used a cheap inkjet in Black & White mode (medium quality without using colour cartridges) and white A4 120gr/cm paper, and the results were quite good.
If you use an A5 paper, you have the finished product after printing. But if you use another size as I did with my A4 paper, you'll need to arrange two A5 in one A4, and after printing you will need to cut half the A4 to get the calendar.
This is not easy: my printer driver was not able to arrange the A5 into a double sided A4, and if you want all the pages with a perfect size, you will have to use an industrial guillotine. I ended by printing manually every page, and then sending the paper to a print shop to cut it.
The next time, I'll probably send the PDF directly to a print shop to do the whole job.
Bonus
After writing the code, and having printed the calendar, I started to look for a landscape A5 ring binder for the gifts... If you are still reading you can suppose that I decided to design and build my own!.
There are lots of tutorials around the internet. So these are only a few tricks, and some pictures that I took during the process.
- I bought three cheap two-ring binders, and used a Dremel like tool to take the rings apart.
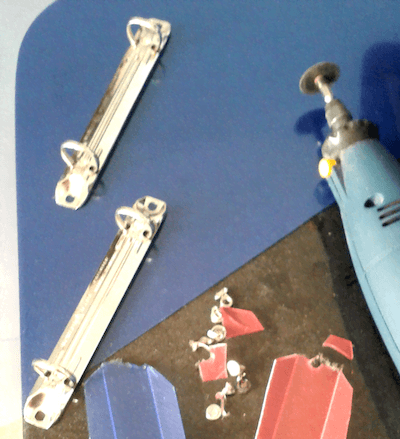
- The base structure is made of 3mm cardboard. Two rectangles for the covers, and one thin rectangle for the spine. The size has to be at least 2cm higher and 4cm wider than an A5, but it depends on your rings and personal preferences.
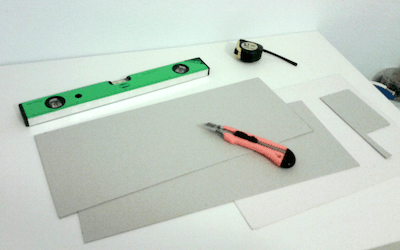
- I used 2mm black EVA foam and glue to bind the cardboard. EVA foam adds a soft touch and thickness without weight. It is also resistant to folding. Remember to leave about 7mm between the covers and the spine.
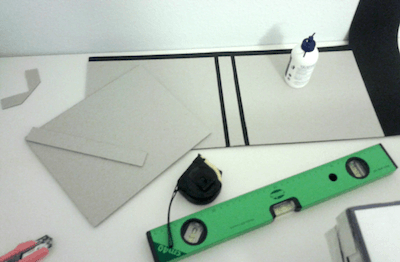
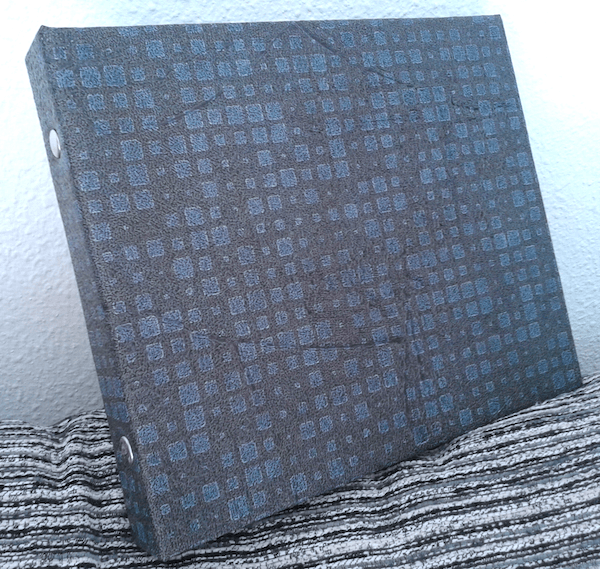
For the cover, I looked for some high quality images of textures on the web (there are zillions), and sent them to be printed with an HP latex printer over display panel textured paper. It resists sun, water and the result was fantastic!. You can find interesting cover materials in wallpaper shops too. The size of this piece should be at least 3cm bigger on each side than the EVA foam.
Once you've glued the cover to the EVA foam, you'll have to cut the corners, and fold the remaining part to be glued on the inside, over the cardboard.
I used black acrylic painting paper for the inside (endpaper). It's a nice textured paper, but very tough without being too thick.
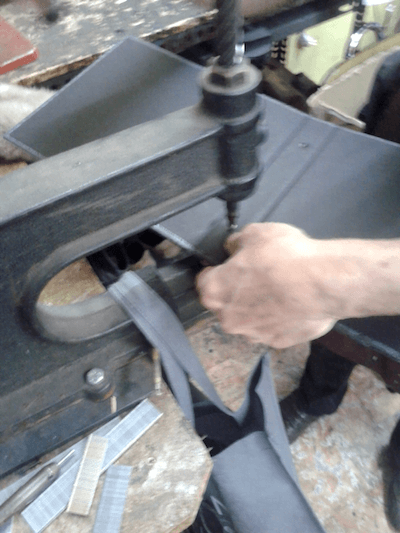
Finally, the rings. You need to join them to the binder with a rivet. I found a very good cobbler with a hand tool to make holes and put rivets to shoes. He did a fantastic job!!.
At the end I made three ring binders. The first one was only a test: full white, without texture printed on the outside. The other two were the real ones. They were almost too perfect, don't seem to be hand made at all. Beautifully printed and fitted with a full 2015 week calendar, they were sent as a Christmas gift to my brother and one cousin. I hope they'll like it!!.
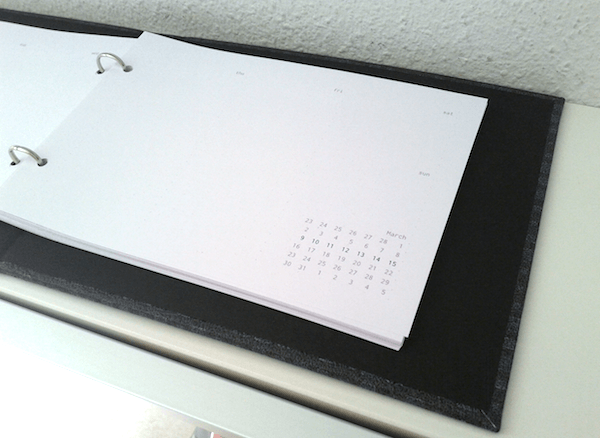
Thanks to Raph Levien for his Inconsolata font, LeFly fonts for his Blokletters-Balpen font used in the examples, and the team behind the Prawn gem.
One ending note, all this was possible thanks to my wife. She was the one that reviewed my designs, gave me ideas about art materials that could be used for making the ring binder, and over all she took care of our mischievous little twins while I was doing all this.